Do you have a mac computer? Do you know how to take the mac screenshot? If you know then it’s well and good but if you don’t know then this article will provide you the complete information and guidance regarding the methods and steps to take the screenshot on the mac. So, here is the list of methods and steps to follow for taking the screenshots on mac – Macbook Air, Macbook Pro, and Macbook Mini.
- Using shortcuts on the keyboard tab to grab a screenshot on your mac
- Using the Screenshot Mac Application.
- Using the third-party applications to get the screenshot on Mac
We will explain each and every method for taking the screenshot on the mac. Let’s first start with the first method for taking the screenshot on the mac.
Using Keyboard Shortcuts To Take Screenshot on Mac M1 & M2
- Selection: Hold the keys Command+Shift+4, drag, and click the cursor mouse to make the selection of the screenshot. Press the Escape key to cancel the image of the screenshot. The image file format of .png will be waiting on your desktop to be saved on mac.
- Screen: Hold keys Command +Shift+3 and a file of type .png of the entire screen will save to your desktop automatically.
- Window: Hold the key Commnad+Shift+4 and the Spacebar with it. Select the desired window of the screen. Pressing the spacebar again to return back to ESC mode to cancel or the selection mode of it. Image file format “.png” of the selected window will be available to be saved on your mac desktop.


Screenshot / Grab Utility Application To Take Screenshot on Mac M1 & M2
- First, click on the application of Finder or Launchpad to locate the folder of Utility.
- Click on the Finder on the desktop.
- Select the option Applications from the sidebar of it.
- Locate the Utility folder and double click to open it.
- Click on the Launchpad and again then click on the Utility bubble to open it.
- Locate the icon of the Grab inside the file of utility and then start the application of Grab.


Using the application of screenshot/Grab, you can choose four different types of screenshots.
- Screen: Window: The option of Window helps you in choosing the Specific Window for which you want to capture. Select the window option or Use the keys Command + Shift + W. Choose the desired window you want to capture from it.
- Timed Screen: This option helps you to capture the whole display of the screen with a short delay of around 10 seconds. Select the option timed screen or use the keys Command + Shift + Z. Click on anywhere on the window to start the Time of the timer for capturing the screenshot.
- Selection: With the help of the Selection option you can select the desired area of interest for which you want to capture. Select the option of Selection or Use the keys Command + Shift + A on your keyboard. Click and drag the box which needs to be highlighted to complete your selection.
Select the option which is best suited for your requirements. Once the screenshot had been captured, a pop-up window will appear to show your preview of the capturing screenshot. When you closed down the preview on the mac, an instant message to save your image file will appear. If you are completing satisfied with the desired result, label the image with the file name, select a save destination folder for it and press the save key button to save the file on the destination folder. If you are unhappy with the results, then you can choose don’t save option and once again try the same procedure until you are satisfied with the results.
Through Screenshot Application (Latest):-
The “Grab” tool is no longer available in the latest MacBook versions. Instead, Apple has introduced a dedicated app called Screenshot for screen capturing. You can find this app by going to Launchpad > Other > Screenshot.
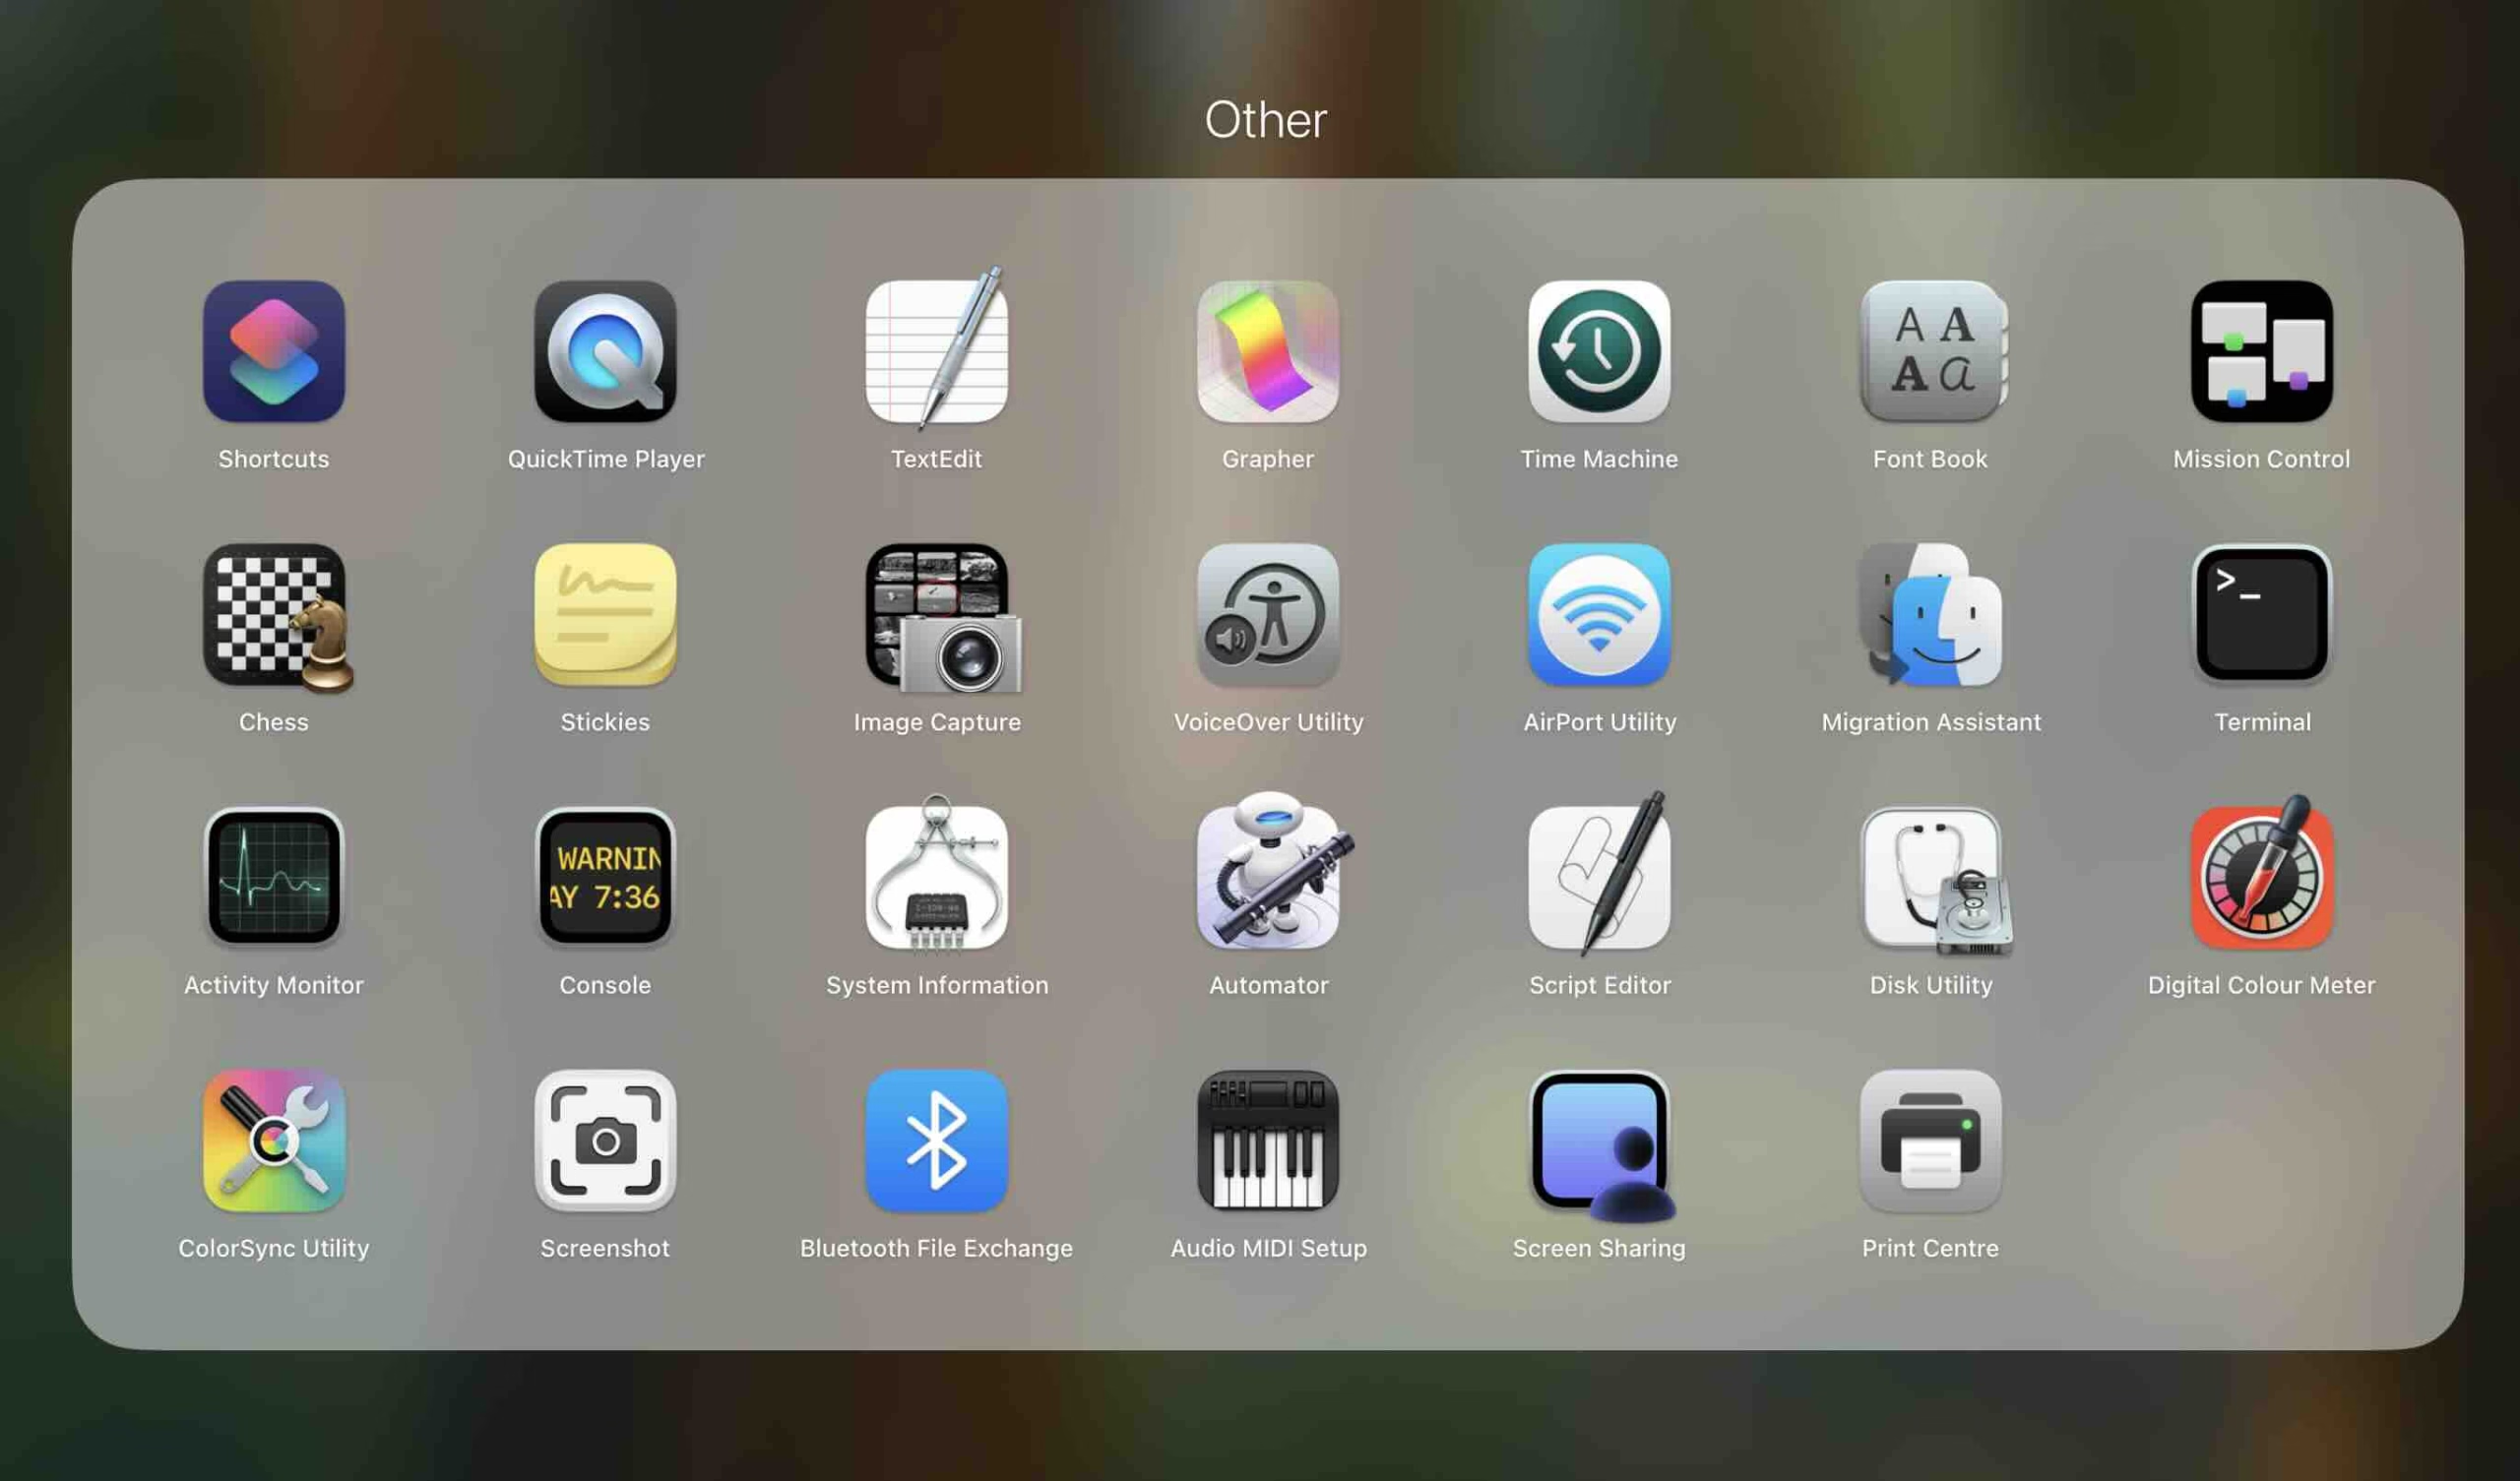
Once you open the Screenshot app, it will automatically bring up the last screen you were on. You’ll see a selector box that allows you to choose the area you want to capture. At the bottom of the screen, you’ll also find several capture options—such as capturing the entire screen, a selected window, or a specific portion. Simply choose the option that suits your needs.
Third-Party Applications To Take Screenshot on Mac

There are many applications available which can help you take the screenshot of the mac at quick time. You can also search into the App Store of Mac to find a reliable application for taking screenshot of Mac.
- Launch the application from the App Store located on the Mac OS.
- Enter the word screenshot into the search box and press the enter key to find it.
When you will search the application you will get numerous applications in which will cost you money. Click on the application which you like to see the cost of it. Once you decided the paid application which you liked then go for download option of it. But you downloaded the application and you are not happy then you must quickly remove from your mac in order to receive the refund of your paid application.
So, you can follow the above steps and methods to save the screenshot of the image into the mac desktop. This will help you to quickly make your work done when you wanted to save the image that you liked on the desktop easily and make your work attractive to present to the clients.